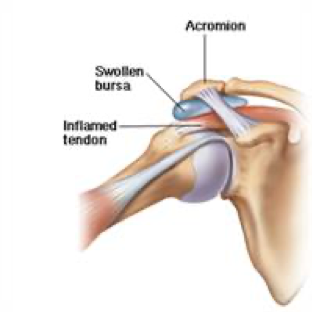
Plantar Fasciitis: Part 2
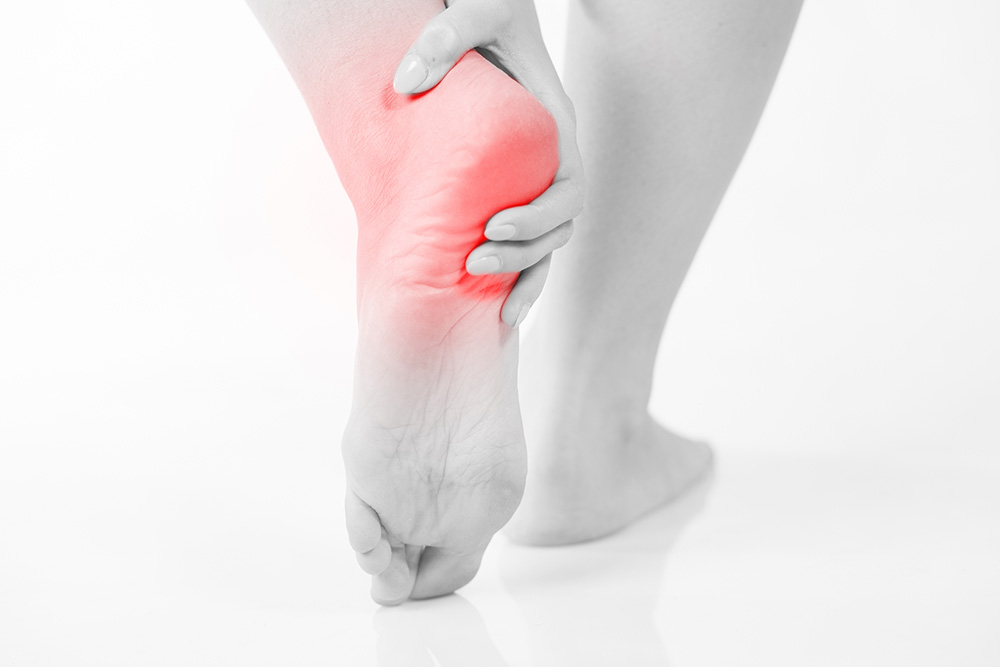
In our most recent blog post we reviewed 5 ways that physiotherapy can help treat heel pain related to plantar fasciitis. In this post, we are going to review commonly missed issues in ongoing heel pain (stretching tight calves or using orthotics are not always the best solutions!). Plantar Fasciitis can be a common reason […]